Simple NodeJS REST API - Part 1
Like many others working in the tech space, I like to dabble in other areas that are closely aligned to my role. So this time I decided I wanted to have a crack at building a very simple REST API. Seeing as I had been a web developer in a previous life, I have some working knowledge of JavaScript, so looked at NodeJS as the programming language for my new shiny API. With that in the bag, I need to choose a REST framework to help me build out this API and with a decent amount of Googling, I settled on Express. It is a very capable framework and easy enough for newbies, like me, to work with.
What are we going to build
Over the next few blog posts, we are going to build an API that will have 4 typical endpoints, that you may find in a real-world API. These endpoints will make up the CRUD acronym:
- C - Create
- R - Read
- U - Update
- D - Delete
To store the data we going to use MongoDB. If you would like more information please feel free to Google it, as there is not enough time to talk about it in this blog. For ease of use, we going to spin up a Docker container that will be running a MongoDB image. Again if you need info on Docker, please take the time now to go do some reading.
Then for some local testing of our newly created API, we going to use Insomnia REST Client. Some people prefer Postman, but I think Insomnia is much cleaner to work with, but it’s up to you what you want to use.
Let’s get started
First thing is to make sure we have everything we need to get started. We are going to need the following installed. As this varies depending on operating systems, please find the method that will work for you.
- NodeJS - Make sure it’s up to date and that it installs NPM as well
- Docker - Again make sure you on the latest version
- Insomnia or Postman, or any other REST client for that fact
Now that we have everything we need, let’s start by creating a new folder for this project in your local directories. I am going to call mine my-movies. And the API is going to list the movies that we own on DVD. Once you have created your new directory, step into it and then let’s initiate a new project with NPM.
npm init
We will then be asked a bunch of questions to start setting up our project. Just answer something like the below or add your own:
- package name: my-movies
- version: 0.0.1
- description: Simple API to manage my DVD movie list
- entry point: app.js
- test command: Just press enter to leave this blank, who needs testing 😛
- git repository: Add you URL to your GIT repo if you wish
- keywords: Can leave blank if you wish
- author: Add your name or company name
- license: Just use the default ISC for this example
You will then be asked to check all the information and to type ‘yes’ to continue. Once this is done you will notice you have a new file in your folder called package.json. If you open this file in an editor, you will see it will have all the information you supplied earlier.
Ok then, let’s create our entry point file app.js, as this is where the fun starts. This will be the file that we build the logic and endpoints for our REST API. But before we run let’s just walk. In your app.js file add the following and save it:
const express = require('express');
const app = express();

app.get('/', function (req, res) {
    res.send('Well hello there!');
});

app.listen(3000, function () {
    console.log('My app is on: http://localhost:3000');
});
Right, let’s take a step back and break down what is in this block of code. The top line in the code above is loading in a new package called express. Express is the framework we will be using to build our app. More information can be found on their website. Now let’s install the package so that we can use it and we will make sure to all –save to add this to the list of dependencies in our package.json file, for future use:
npm install express --save
The next line down we will create a constant called app, which will be the express function. This makes it easier for us to reference as we go along.
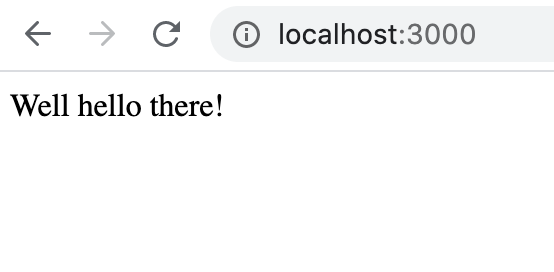
Lines 4 to 6 create a route to allow the GET requests to the root URL (/). We then send a response on that route Well hello there!. If we try to use any other routes, we will get a 404 as there is nothing to handle them in the app.
Lines 8 to 10 then set which port our app will be listening on. In this case, we have chosen port 3000, but it can really be any port you want. Most people will be aware of port 80, as its the port for HTTP traffic.
Hopefully, everyone has an idea of what is going on now, so lets fire up the webserver from our local terminal and see what we get:
node server.js
You should of has the output My app is on: http://localhost:3000 in your terminal. And if we then open a browser and go to that URL, you should see something like the below image:

Congratulations, you have just built your first NodeJS & Express web app!